HOW TO ILLUSTRATE with typos
(or at least how I do it).
TOP Tips
Don’t compare your work to other artists, nothing can destroy your creativity faster. You are here to create not emulate!
If you can’t figure out how to draw what you are trying to create, find a photo a trace it. Tracing can help you understand the anatomy of your subject.
Don’t expect perfect lines and proportions, the beauty of art is that you can draw in your own reality.
If you can’t think of what to draw, draw what you see or what you want to see.
Practice daily. When I first started drawing 2 years ago, my work looked nothing like it does now. The more you draw, the more you will start to find your style and learn how to trust your strokes and shape your illustrations exactly how you envision them.
first steps:
To complete my illustrations, I mainly stick to the adobe suite. Below are some the tools I use
Hardware:
Ipad Pro + Apple Pencil
iMac
Software:
Adobe Draw App
Adobe Illustrator
Adobe Photoshop
Procreate (A little bit, for lettering mainly)
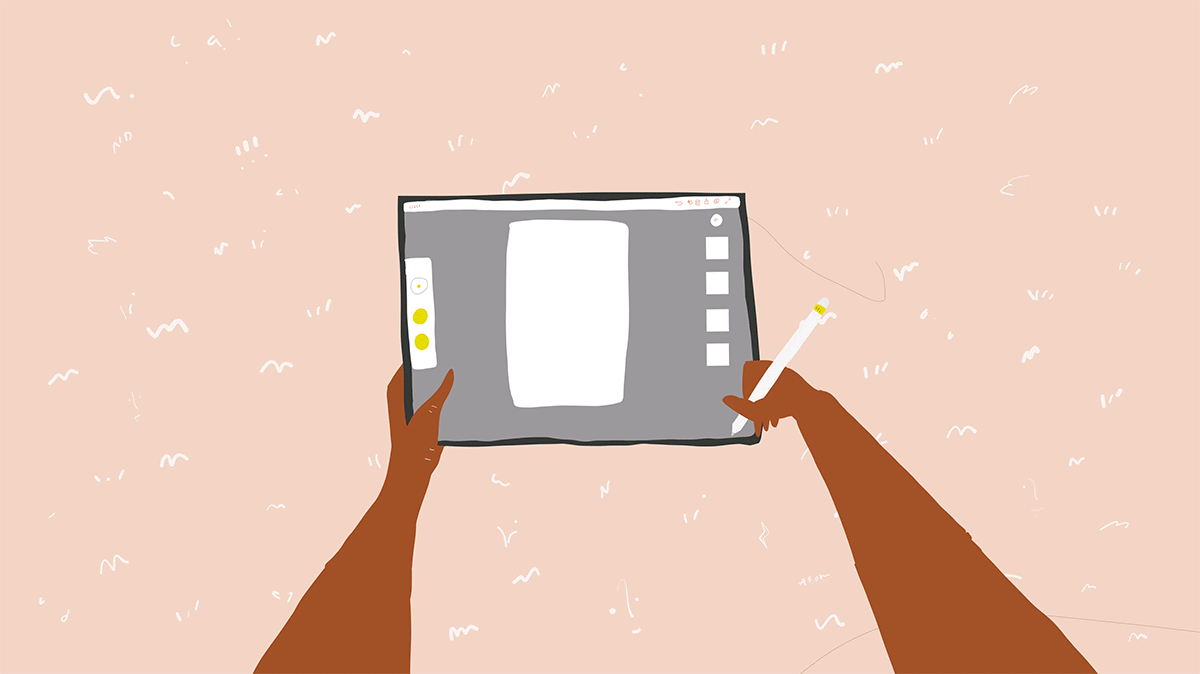
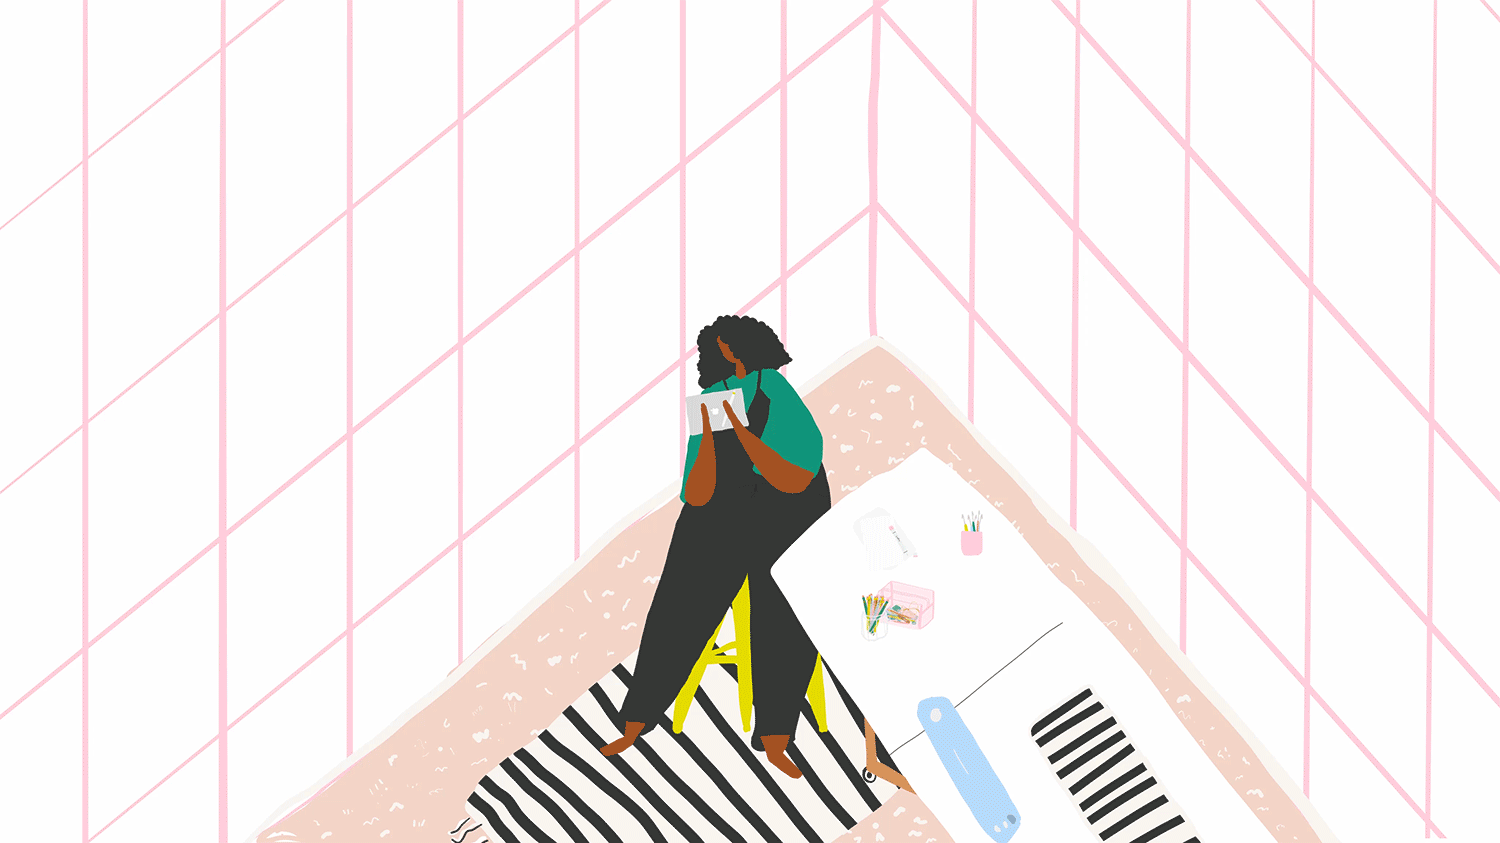
I begin my sketches in the adobe draw app and generally start by drawing the character. You can watch the process videos below to see how my illustrations progress.
I started my illustration journey with some pretty strong photoshop and Illustrator skills for classes I took in High school and college, but mostly I have learned how to use the adobe suite from years of use. There are some great classes on Skillshare if you are looking to get into the software, and if you are looking at any kind of design based future I highly recommend you start today! It’s not as scary as it looks and you can find just about every answer to your questions with google/youtube.
I started drawing on my iPad 2 years ago with a 53 Pencil in the 53 app, but I soon moved all of my work over to the Draw app. This app is really easy to use, There isn’t much there to figure out, but if you start to play around with it you can pick it up very easy, at least my nieces have when they draw on it.
NOTE: I found this the more I practiced drawing, drawing the head and neck first sets the tone for the rest of the illustration by setting body direction.


saving my illustrations:
After my illustration is complete, I combine Layers I want to be grouped together and send it directly to Adobe Illustrator from my iPad. ( I love this feature) Once in Illustrator on my iMac, I make any changes needed and save my illustration as the files below.
Illustrator file (.ai)
This is my working file, I always save a copy just in case i need the full original illustration
Transparent image (.png)
Most of my illustrations can be used on top of other assets, so I like to save my file with a transparent background
vector file (.esp)
I save this file to have my illustration in vector format, a file that can be resized to any size.
flat image (.jpeg)
I save a high res jpg file to have handy for any kind of digital posting.
Printing dcument (.pdf)
I save a high print quality pdf file to have handy for any kind of printing.